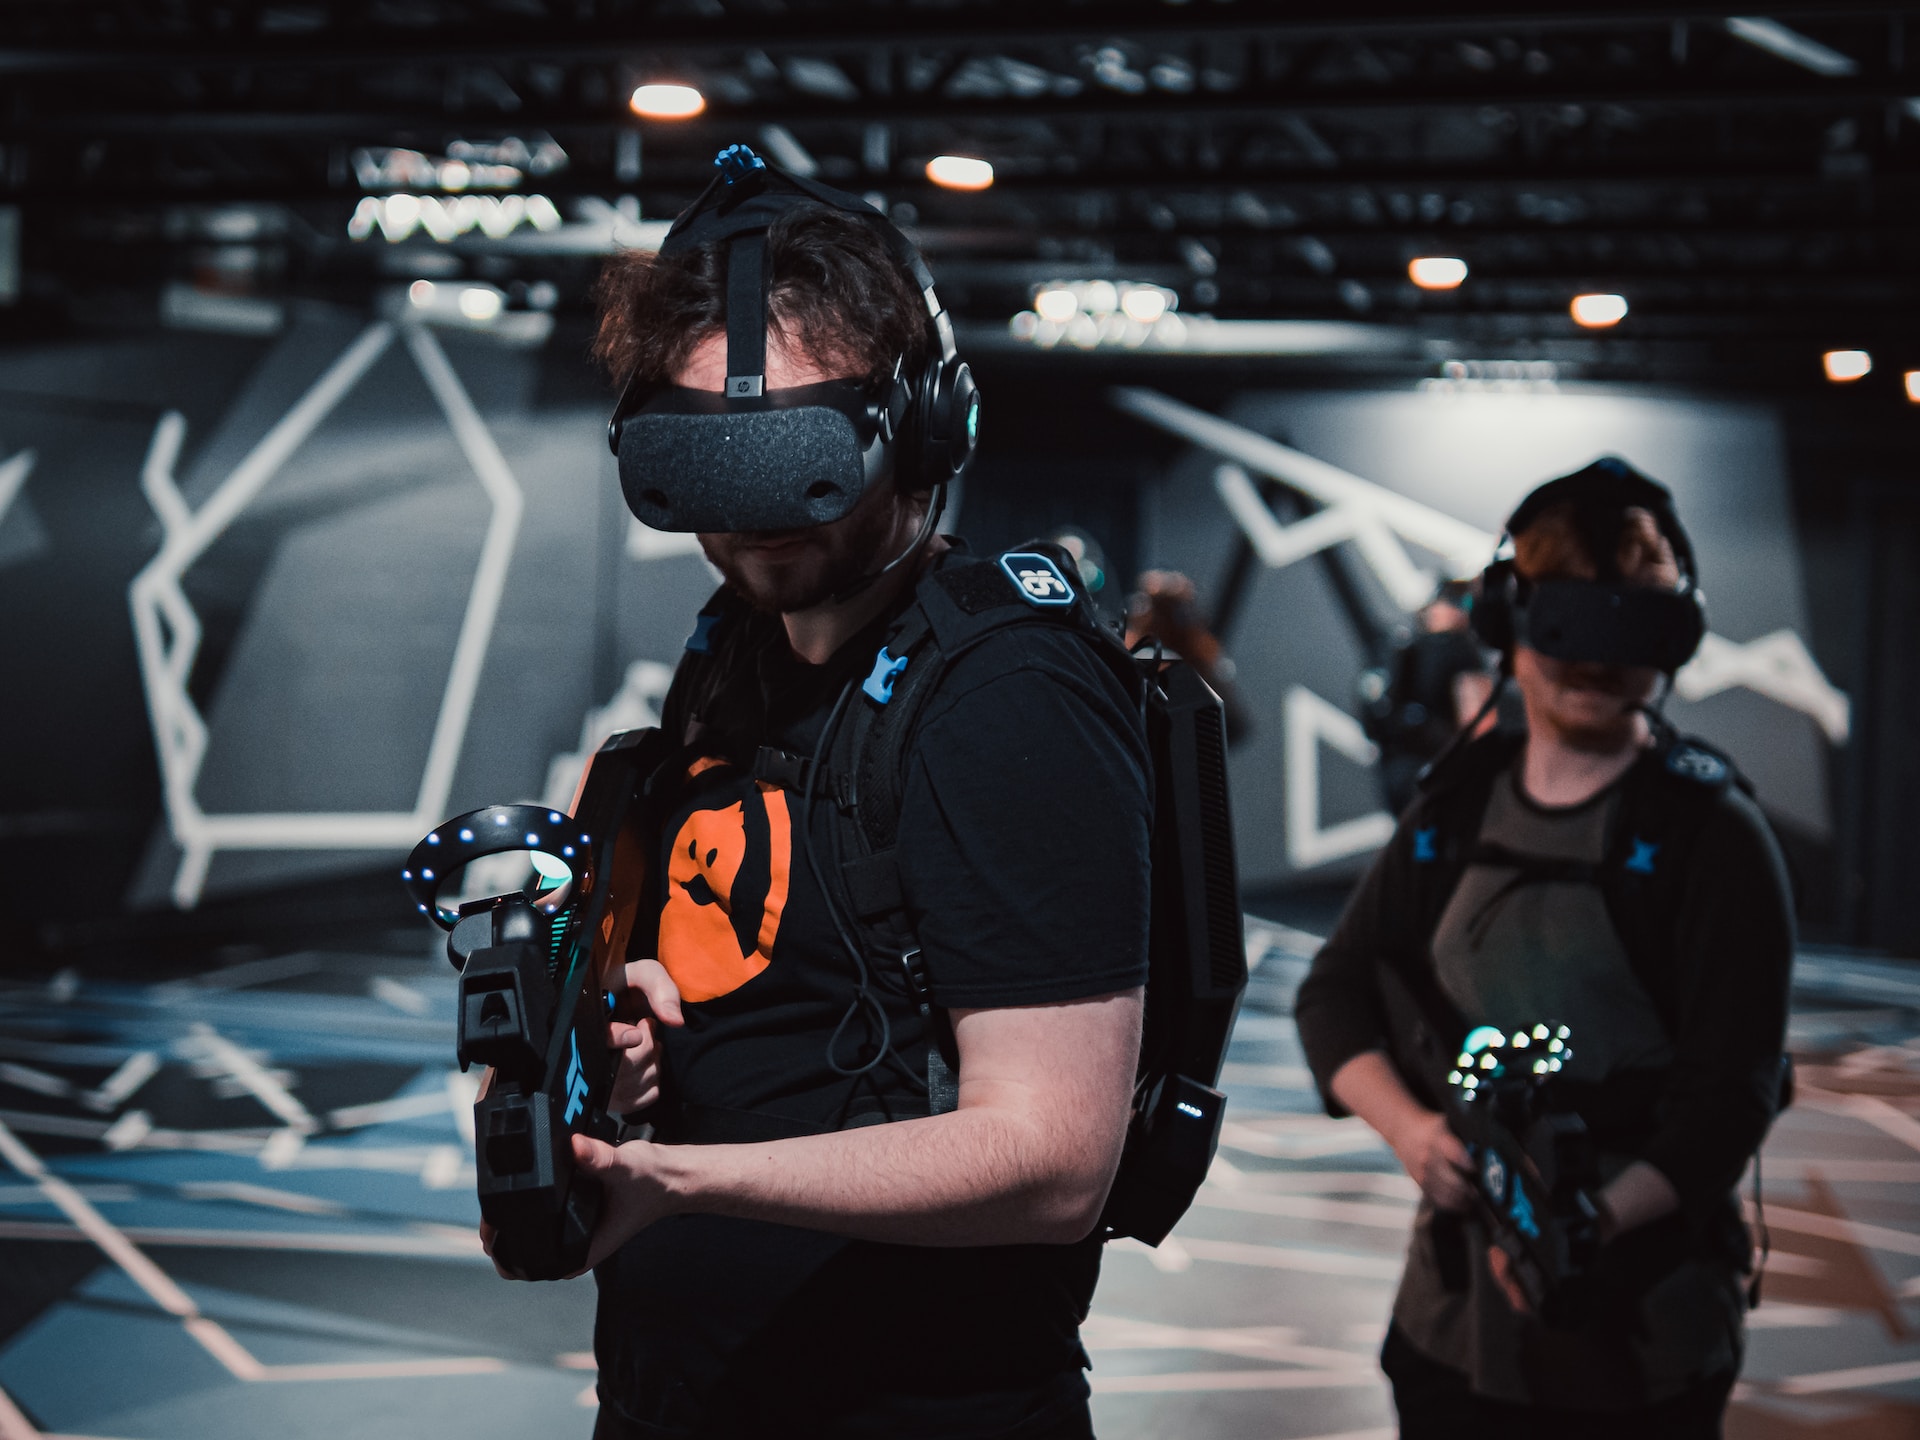
Are you ready to immerse yourself in the captivating world of virtual reality? Building a VR-ready PC is the first step toward unlocking a whole new level of gaming and entertainment experiences. here you know about the full process of assembling your very own VR-ready Gaming Desktop, ensuring you have all the necessary components and knowledge to get started.
What is Virtual Reality (VR)?
Before we embark on our journey of building a VR-ready PC, let’s first understand what virtual reality is all about. VR is a computer-generated simulation that immerses users in a three-dimensional, interactive environment. It creates a sense of presence, allowing users to explore and interact with virtual worlds as if they were real. From gaming and entertainment to education and training, VR has the potential to revolutionize various industries.
Step-by-Step Guide to Build Own VR-Ready Gaming Desktop

Step 1: Define Your Budget and Purpose
The first step in building a VR-ready PC is to determine your budget and purpose. How much are you willing to invest in your VR experience? Are you primarily building the PC for gaming or do you have other specific requirements? Defining these parameters will help you make informed decisions throughout the building process.
Step 2: Research and Select Components
Now that you have a budget and purpose in mind, it’s time to research and select the components for your VR-ready PC. Here are the key components you’ll need:
- Processor (CPU): Look for a powerful CPU to handle the demanding tasks of VR. Brands like Intel and AMD offer excellent options.
- Graphics Card (GPU): A high-performance GPU is crucial for rendering immersive VR graphics. NVIDIA and AMD are popular choices.
- Memory (RAM): Opt for at least 16GB of RAM to ensure smooth multitasking and efficient VR performance.
- Storage: Consider a solid-state drive (SSD) for faster loading times and an additional hard disk drive (HDD) for ample storage space.
- Motherboard: Choose a motherboard that supports the CPU and has enough expansion slots for future upgrades.
- Power Supply Unit (PSU): Ensure your PSU can deliver enough power to all the components.
- Case: Select a case that accommodates your chosen components and offers good airflow for cooling.
- Cooling Solution: Invest in a reliable cooling solution like air or liquid cooling to prevent overheating.
- Peripherals: Don’t forget about peripherals like a monitor, keyboard, mouse, and VR headset.
Step 3: Assemble Your PC
With all the components in hand, it’s time to put them together. Follow these steps for a smooth assembly process:
- Prepare Your Workspace: Find a clean and well-lit area with ample space to assemble your PC.
- Install the CPU: Carefully align and insert the CPU into the motherboard’s socket, following the manufacturer’s instructions.
- Mount the Cooler: Attach the CPU cooler to ensure proper cooling. Apply thermal paste if necessary.
- Insert Memory (RAM): Insert the RAM sticks into the designated slots on the motherboard.
- Install the Storage Drives: Connect the SSD and HDD to the appropriate ports on the motherboard.
- Mount the Motherboard: Secure the motherboard in the case using screws or standoffs.
- Connect Power Supply: Attach the necessary power cables to the motherboard, CPU, GPU, and storage drives.
- Install Graphics Card: Insert the GPU into the designated slot on the motherboard and secure it with screws.
- Connect Peripherals: Connect your monitor, keyboard, mouse, and VR headset to the appropriate ports.
- Double-Check Connections: Ensure all cables and components are securely connected.
- Close the Case: Seal the case, making sure it’s properly aligned and all screws are tightened.
Step 4: Install the Operating System and Drivers
Once your PC is assembled, it’s time to install the operating system (e.g., Windows) and drivers. Follow these steps:
- Prepare Installation Media: Create a bootable USB drive with the operating system of your choice.
- Boot from USB: Restart your PC and boot from the USB drive by changing the boot order in the BIOS settings.
- Install the Operating System: Follow the on-screen instructions to install the operating system on your PC’s primary drive.
- Install Drivers: Visit the websites of your component manufacturers (CPU, GPU, motherboard) to download and install the latest drivers.
Step 5: Optimize and Test Your PC
Congratulations! You’ve built your VR-ready PC. Now it’s time to optimize and test its performance:
- Update Windows: Ensure your operating system is up to date with the latest patches and security updates.
- Optimize Settings: Fine-tune your PC’s settings for optimal VR performance, such as adjusting power options and graphics settings.
- Benchmark and Stress Test: Use benchmarking tools and stress tests to evaluate your PC’s performance and stability.
- Install VR Software: Download and install the VR software associated with your VR headset.
- Test VR Experience: Finally, dive into the world of VR by launching compatible games or applications and evaluate the experience.
FAQs About Setting Up VR-Ready PC
1. What is the cost of building a VR-ready PC?
The cost of building a VR-ready PC can vary depending on your budget and the desired level of performance. A decent VR-ready PC can be built for around $1,000 to $1,500, but high-end systems can cost upwards of $2,000 or more.
2. Can I upgrade my existing PC for VR?
It’s possible to upgrade certain components of your existing PC to make it VR-ready. However, some older systems may not meet the required specifications, particularly in terms of the GPU. It’s recommended to check the compatibility of your current components and consider a complete upgrade if necessary.
3. Do I need a specific VR headset for my PC?
Yes, VR headsets are designed to work with specific PC configurations. Ensure that your chosen VR headset is compatible with your PC’s operating system and meets the recommended specifications for optimal performance.
4. Can I build a VR-ready PC without prior technical knowledge?
While building a PC can seem intimidating, there are plenty of resources available online, including video tutorials and step-by-step guides, to help you through the process. With careful research and attention to detail, even beginners can successfully build a VR-ready PC.
5. How future-proof is a VR-ready PC?
Technology evolves rapidly, and while a VR-ready PC can provide an immersive experience today, it’s challenging to predict how it will perform in the future. However, investing in high-quality components and leaving room for upgrades can extend the lifespan of your VR-ready PC.
6. Can I build a VR-ready PC for purposes other than gaming?
Yes, While VR gaming is a popular application, VR has applications in various fields, including education, training, simulations, and design. A VR-ready PC can support these applications and offer enhanced experiences beyond gaming.
Conclusion
Building your VR-ready PC is an exciting journey that opens up a world of immersive experiences. By following this step-by-step guide, you now have the knowledge and confidence to assemble your own VR-ready PC. Remember to research and select the right components, follow proper assembly procedures, and optimize your system for the best VR performance. Now, it’s time to enter the virtual world and explore endless possibilities!


